Fourth of July DIY Fashion
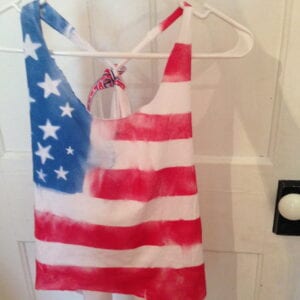
If you want to be independent of the name-brand Fourth of July fashions this Independence Day, I have just the scoop for you! Check out these Fourth of July DIY fashion ideas. Make your own unique, one-of-a-kind patriotic apparel following these simple steps:
Tried and True Tank
What you’ll need:
- One large white T-shirt (Can be bought for almost nothing in a 4-pack at Walmart or stolen from a man in your life)
- Blue painter’s tape
- Red and blue spray paint
- Star stickers
- Scissors
- Ribbon
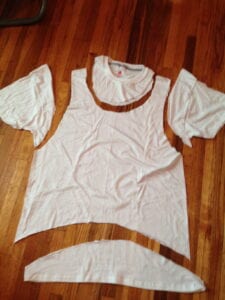
Step one: Use a pair of scissors to cut the T-shirt like so:
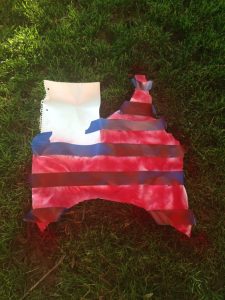
Step two: Slide a piece of cardboard inside the shirt so it doesn’t wrinkle and tape horizontal stripes onto the shirt. Cover the upper left-hand corner with a piece of paper or cardboard and tape it down. Use the red spray paint to make the stripes.
Step 3: After the red spray paint is completely dry, remove the paper from the left-hand corner of the shirt. Cover the red, striped part of the shirt and tape it down so there’s no chance of it getting sprayed again.
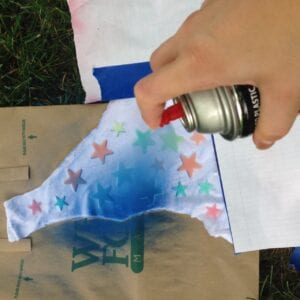
Step 4: Use the star stickers to cover the white, upper left-hand corner of the shirt. Spray with the blue paint.
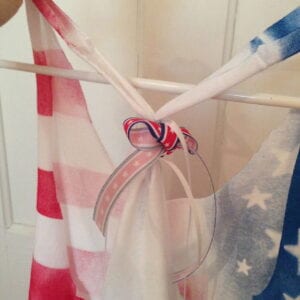
Step five: For a final touch, when everything is dry use the ribbon to tie the straps together in the back like a razor back.
God Bless the USA Jean Shorts
What you’ll need:
- A pair of jean shorts you wish you wore more often.
- Red, white, and blue acrylic craft paint
- A paintbrush
- A star stencil
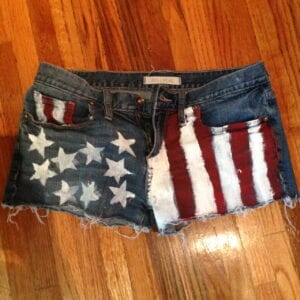
Step one: Start by painting vertical stripes on the right side of the shorts. You can use tape to make the lines perfect, or go free-lance for a semi-messy look like I did. Make sure you do one color at a time and wait for the first color to dry before starting on the second so the colors don’t bleed (luckily, the paint drys fairly quickly).
Step two: Cut around the star stencil so it’s a small square and you can do multiple stars at a time with out messing up. be sure to put a piece of cardboard inside the shorts so you can hold the stencil flatter and steadier and the paint won’t bleed into a non-star-like geometric blob (learned this the hard way).
Step three: (Optional) Once the stars are dry, you can carefully paint blue around the stars. Or not. The jeans are already blue, so it’s up to you!
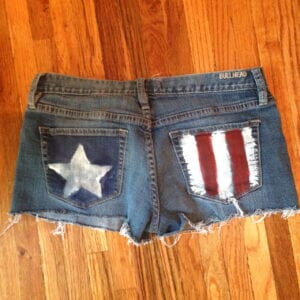
Step four: Once the front has completely dried, repeat the process of painting stars and stripes on the back pockets. You have the option to be as creative as you want here, so if you’re especially artsy, add “USA” or paint a bald eagle holding a Budweiser. #Merica
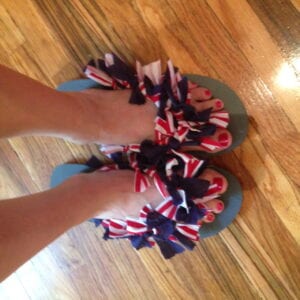
I Pledge Allegiance to my Flip Flops
What you’ll need:
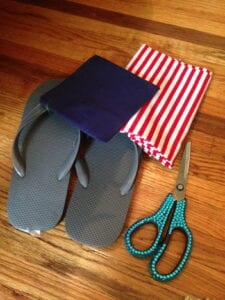
- Patriotic-looking fabric scraps
- Flip flops
- Pinking shears or scissors
Step one: Cut your fabric into strips that are about 3/4 inches wide and 3 inches long.
Step two: Take a strip of fabric and tie a single knot around the strap of the flip flop.
Step three: Tie, tie, and tie some more, alternating the fabric until you fill up the strap completely.
Step four: Use the scissors to shorten any of the strips to a length of your liking.
America-Bow the Beautiful
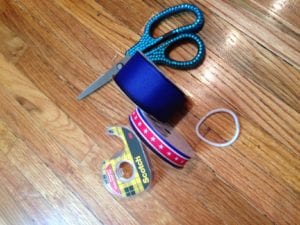
What you’ll need:
- Two or three spools of ribbon (varied in width)
- One pony tail holder
- Double-sided tape
- Scissors
Step one: Cut your all of your ribbons evenly, about 75 cm long.
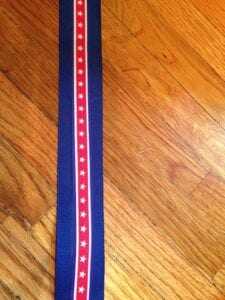
Step two: Line the back of the thinner ribbon with double sided tape and carefully place it in the middle of the thicker ribbon, using your fingers to smooth it down.
Step three: Knot the ribbon around a pony tail holder twice.
Step four: Tie a neat bow, then adjust the length of each loop. Cut off the ends at an angle or in a v-shape for a more polished look.




This is absolutely adorable! LOVE it 🙂
That was wonderful!!!! Rock it girl!