Everything You Need To Know About Instagram Filters #VZWBuzz
If there’s one thing I’m sure of about life, it’s that it would be better if we could apply Insta-filters every morning like mascara or foundation.
Dream morning routine: Get up, brush hair, create smokey-eye, brush teeth, apply X-Pro II.
I. Freaking. Wish… Until Technology improves, we just have to settle for applying filters when it really matters most: On social media where your evil high school rival and blockhead ex-boyfriend can see them. One of the toughest choices we make in any given day is which Insta-filter to pick. Here are a few tips to help you pick the filter that will best impress and send your enemies into a jealous rage, based on the makeup and look you’re sporting that day:
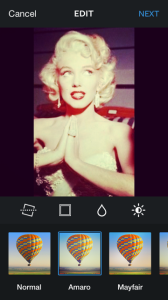
Amaro:
This filter adds more light to the center of the photo, and darkens around the edges. If you’re not careful with this filter, Amaro can really ghost you out. It’s best used in the summer, when you’re at your tannest, or just after you got an awesome new bronzer.
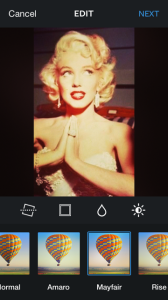
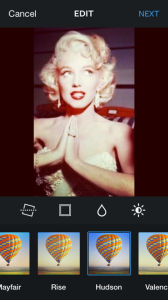
Mayfair:
The Mayfair effect tends to warm up your skin, and adds a subtle vignette that brightens the center of the photo. This filter will bring out a pick or peach blush, if you’re going for an innocent, rosy-cheeked look.
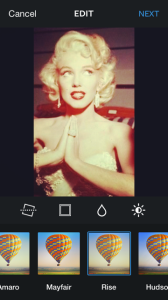
Rise:
Rise plays up the yellow tones that are in photos and adds warmth. This filter is especially flattering with people with darker features. Use earth-tones for selfies you intend to use this filter for, and create the perfect natural look.
Hudson:
The Hudson effect can give photos a colder, bluish look, because it emphasizes the light in an image. Blue eyes, accentuated with a dark blue eyeliner are perfect for this filter.
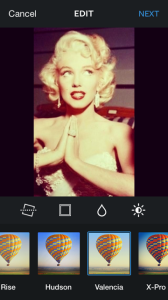
Valencia:
Valencia adds a light brown and gray tint to photos. This gives them a slightly-faded, photo-from-mom’s-yearbook kind of feel. I’ve found that this filter can really makes skin look like it’s glowing. Apply your favorite foundation, and this filter will only enhance the perfection of your skin.
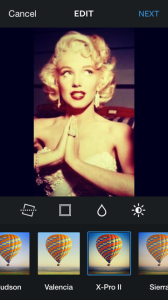
X-Pro II:
This filter gives photos a warm, vintage feeling and adds saturated tones. It compliments a smokey eye well because it darkens shadows.
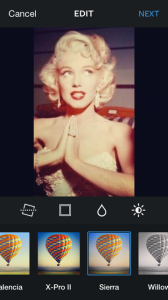
Sierra:
If you’re going for a softer look, Sierra is the filter you’re looking for. This filter is perfect for bringing pinks, pale blushes, and lighter lip-glosses to life.
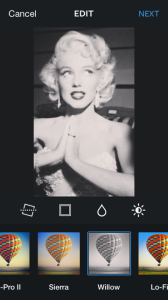
Willow:
This monochrome filter will add subtle purple tones to your photo. Use dark purples, grays, blacks, and extra coats of mascara, and this filter will embellish a dark, sophisticated look around the eyes.
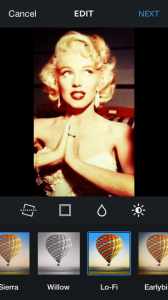
Lo-Fi:
This filter adds in saturated colors and depicts a dreamy, blurry effect. If you take a photo toward the end of the night, when your make-up is starting to wear off, this is the filter to use.
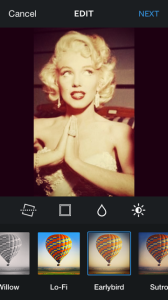
Earlybird:
Earlybird gives photos a retro, “polaroid” feel, fading most colors and adding in a hint of yellow. This filter is great for earth tones as well. It will make dark brown or green eyeshadow pop. One thing to beware of is this filter tends to make wrinkles stand out, because it makes your skin look paler, but darkens shadows.
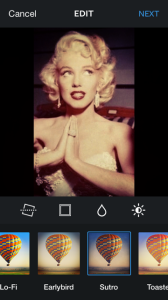
Sutro:
If you’re looking for a Sepia-like vibe, this is the filter to use. Emphasizing purples and browns, play to this filters strengths and apply a dark bronzer and go with a purple hue around the eyes.
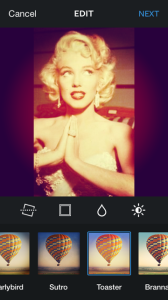
Toaster:
This filter gives photos a burnt, aged look. It adds slight texture, as well as vignetting.Toaster tends to bring wash-out your face, but does wonders for the eyes. You don’t need to apply heavy eyeliner, the filter will do all the work.
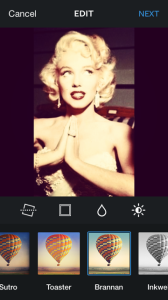
Brannan:
Brannan brings out the grays and greens in your photos. It tends to give pictures a bit of a grainy look, but it will intensify the darker colors of any smokey-eye look. Wear a darker color on your lips and it will bring extra life to them.
Inkwell:
This black and white filter adds a high amount of contrast to photos. No matter how you chose to wear your make up, it will make for a more elegant, black-and-white-movie, classic look.
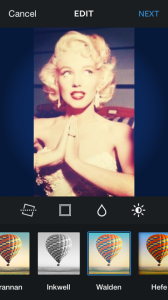
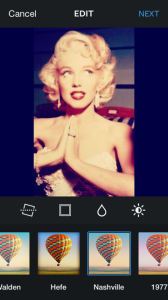
Walden:
This filter adds corner vignetting and blueish colors, tending to give photos a washed-out look. However, I’ve found it really makes blue and green eyes stand out. If you’re looking to play up eyes, use this filter and apply two coats of mascara for extra ‘smize’ power.
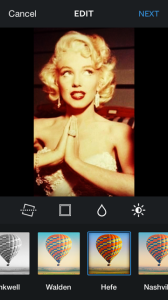
Hefe:
Hefe increases the saturation of your photos and portrays a warm, fuzzy tone. If you tan a lot, and you’re worried your skin is on the brink of ‘I fell into a bag of Doritos’ orange, do not use this filter. It will only bring out the orange in your skin.
Nashville:
Nashville adds a soft, purple-pink hue to photos. Use this filter on days when you want a softer, more natural look.
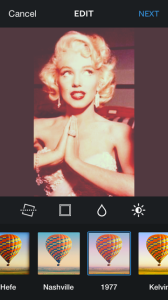
1977:
This filter makes pictures look faded and slightly brighter, giving them a 70’s feel, as the name suggests. Use this filter if you decided to be bold and use brighter neon eyeshadows and liners.
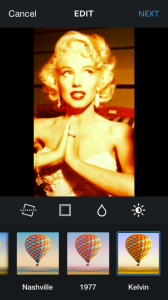
Kelvin:
Kelvin boosts the earth tones in your photos, and adds brightness. It’s accentuates olive eye shadows and green or brown eyes well. Be careful using this filter, because it can have a tendency to make you look a little yellow and jaundice-like.
(Bonus) Normal/#NoFilter:
If you think you’re too good for a filter, you are kidding yourself, and you should probably go get checked out for narcissistic personality disorder. No matter how pretty you are, your beauty can always be enhanced with a filter.
Now, go take some selfies.

